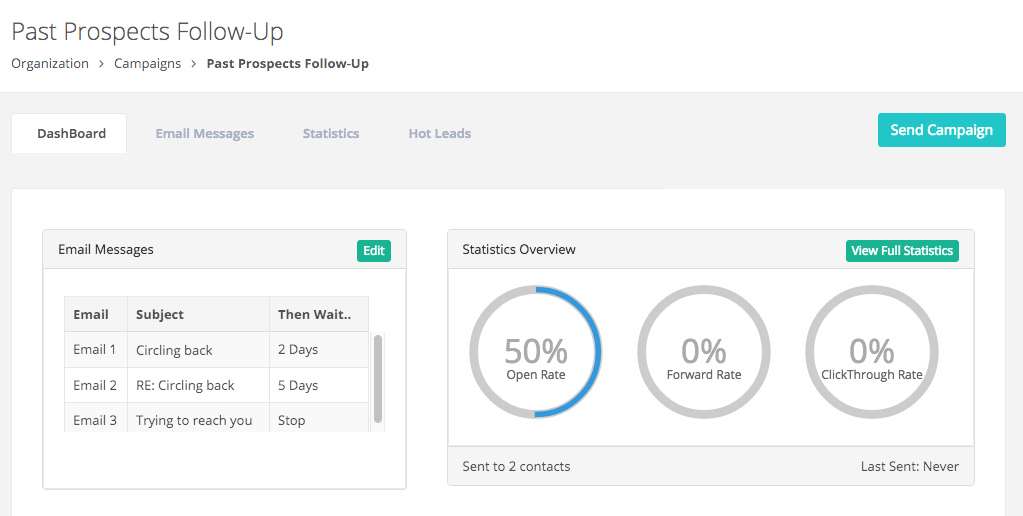
This tutorial will show you how to send a campaign to existing or previously imported contacts.
Click on the "Campaigns" on the left-hand navigation pane, then click on a campaign you'd like to send.

Click on "Send Campaign" this will then take you to the "Import Contacts" screen.


Note: If your contacts are in an Excel Spreadsheet, before importing those contacts, your must first convert your Excel spreadsheet into a .CSV format. A .CSV is a Comma Separated Values file.
For instructions on converting Excel spreadsheets to CSV formats, click here.
To upload your .CSV file, either drag-and-drop onto the screen, or click the screen to go to your list of files on your computer.
If you're an Admin, click on the "Select Sender" dropdown menu and select which user to send the campaign from, then click next.
As your .CSV file is uploading, BuzzBuilder will match each field to the corresponding field in your spreadsheet. NOTE: the only fields you MUST have in your spreadsheet are Email Address and First Name. Additional fields that can be added include: Last Name, Company, Title, Phone Number, Mobile Phone, Fax, Address, City, Industry, Lead Source.
If your spreadsheet is missing any fields that BuzzBuilder has a space for, such as Last Name, simply leave the field marked as None and these fields will be ignored. For more information about populating these fields please refer to the image below.

You'll have the option to either Send Now or Send Later:
Send Now: Email 1 will be sent immediately
Send Later: Click on the Date box and schedule the day/time you'd like to launch the campaign
Advanced De-duplication
We suggest using this when you have multiple users. This will prevent more than 1 user from emailing the same contact within a certain date range. For example, if you specify 30 days, then the system will exclude any contacts on your import list who were already emailed by any user within the past 30 days.
