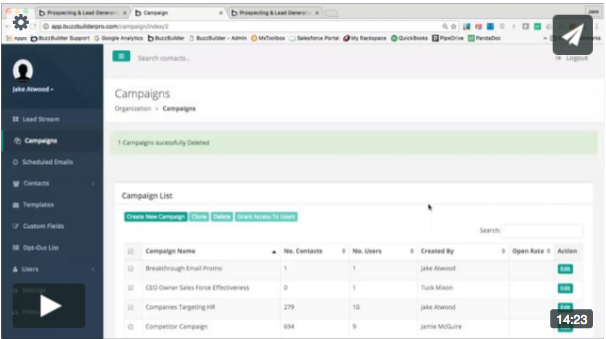
To create a new campaign, click on Campaigns on the left-hand navigation.
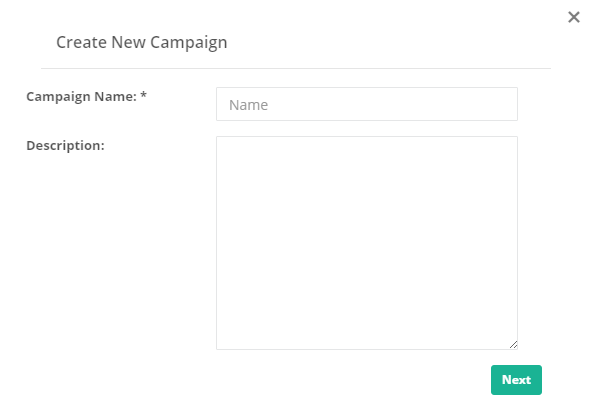
Then click the Create Campaign button. A pop-up window appears called, “Create New Campaign.” Type in the name of your campaign, and a description of the campaign for sales reps and other viewers to understand the purpose of the campaign.

Emails can now be created/added to your Campaign. Scroll down to the bottom of the screen. On the bottom-left of your screen you will see "Add New Email"
If you'd like to start with a template, click the Templates dropdown and choose one. Otherwise, you'll begin creating your own email using the Email Editor.

The Email Editor is similar in function to Microsoft Word. You'll use the options in the Editor to format/edit text, add images, attach documents, or insert web links.

Personalizing Emails With Contact's First Name, Company, Etc.
It's easy to personalize each email by inserting information such as the contact's first name, last name, company name, title, and city/state. Click on the dropdown called Insert Contact Field and select an option to insert into the email.
You can also insert the Sender's (Rep's) First Name, Last Name, and Signature into the email.
FYI: Users need to create a signature within their profile.

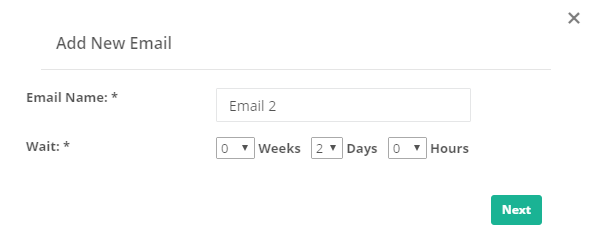
Once you've created your first email, you have the option of adding additional emails to this campaign. Then you'll add a delay for each email that determines how long to wait before sending the next message. For example, you could create a series of 12 emails and add a delay of 1 month between each email. Whenever you launch this campaign to a list of contacts, it will automatically schedule each email to send monthly for the next 12 months.
To add a new email to the campaign, simply click the Add New Email button. Alternatively, you can click the Clone button to copy an existing email.

Once you've completed building your campaign, click on Settings & Notifications at the top right corner of your screen. Here is an overview of the options in this area.

Default Notifications: Determines what type of email notifications will be sent
Skip Weekends/Holidays: When activated, if any emails are scheduled to send during a weekend or holiday, it will pause the campaign and send this email the next business day instead.
Remove Duplicate Contacts: When YES is selected, it will not allow the campaign to send to the same contact more than once. However, the campaign can be resent to new contacts.
Assign To Selected Users: Select which users can send this campaign. When other users send it, the campaign will automatically send from the user's individual email address, and replies will go to each user's email inbox.
